


- ElmorLabs PMD2
- HardKernel Smart Power 3
- HardKernel Smart Power
- RAPL permissions
- Libraries for low-level meter access
- Set up MQTT (optional)
- Set up HTTP (optional)
- R and ggplot2 (optional)
- Next step: Launching the software
Depending on your system settings, small configuration may be required to grant access to the device drivers / device files.
First, you need to acquire hardware that is supported by the software. Otherwise, you will need to create the required bridge code for that piece of hardware.
ElmorLabs PMD2
We are currently in the process of adding support for this meter!
TTY permissions
The ElmorLabs PMD2 meter is a USB UART device and may require adding the user to a specific UART / serial group unless you are executing the application as root (which is not recommended as it is highly insecure).
Add the user to the relevant groups:
$ sudo usermod -a -G uucp username
$ sudo usermod -a -G dialout username
$ sudo usermod -a -G lock username
$ sudo usermod -a -G tty username
$ sudo usermod -a -G uucp username
$ sudo usermod -a -G dialout username
$ sudo usermod -a -G lock username
$ sudo usermod -a -G tty username
$ sudo usermod -a -G uucp username
$ sudo usermod -a -G dialout username
$ sudo usermod -a -G lock username
$ sudo usermod -a -G tty username
HardKernel Smart Power 3

This product has been phased out and cannot be bought from the official store anymore.
HardKernel Smart Power 3 is one of the supported meters. A firmware update may be required because different firmware versions may produce different log output. More recent versions may also fix possible bugs.
Some distributions do not enable device access by default for ordinary users. We show how you can configure the device file permissions. Again the instructions assume a rather ordinary configuration without any complex distributed corporate security scheme (e.g. Kerberos / LDAP).
Firmware update
HardKernel SmartPower 3 devices sold by HardKernel (limited availability in 2026) may not come with the latest firmware installed. We provide a copy of the firmware image here.
$ sha256sum smartpower3-firmware-20230518.img
7d513e1c2155a5409547fe7a29812258d7416e72f7893d914723969fcd5210f0
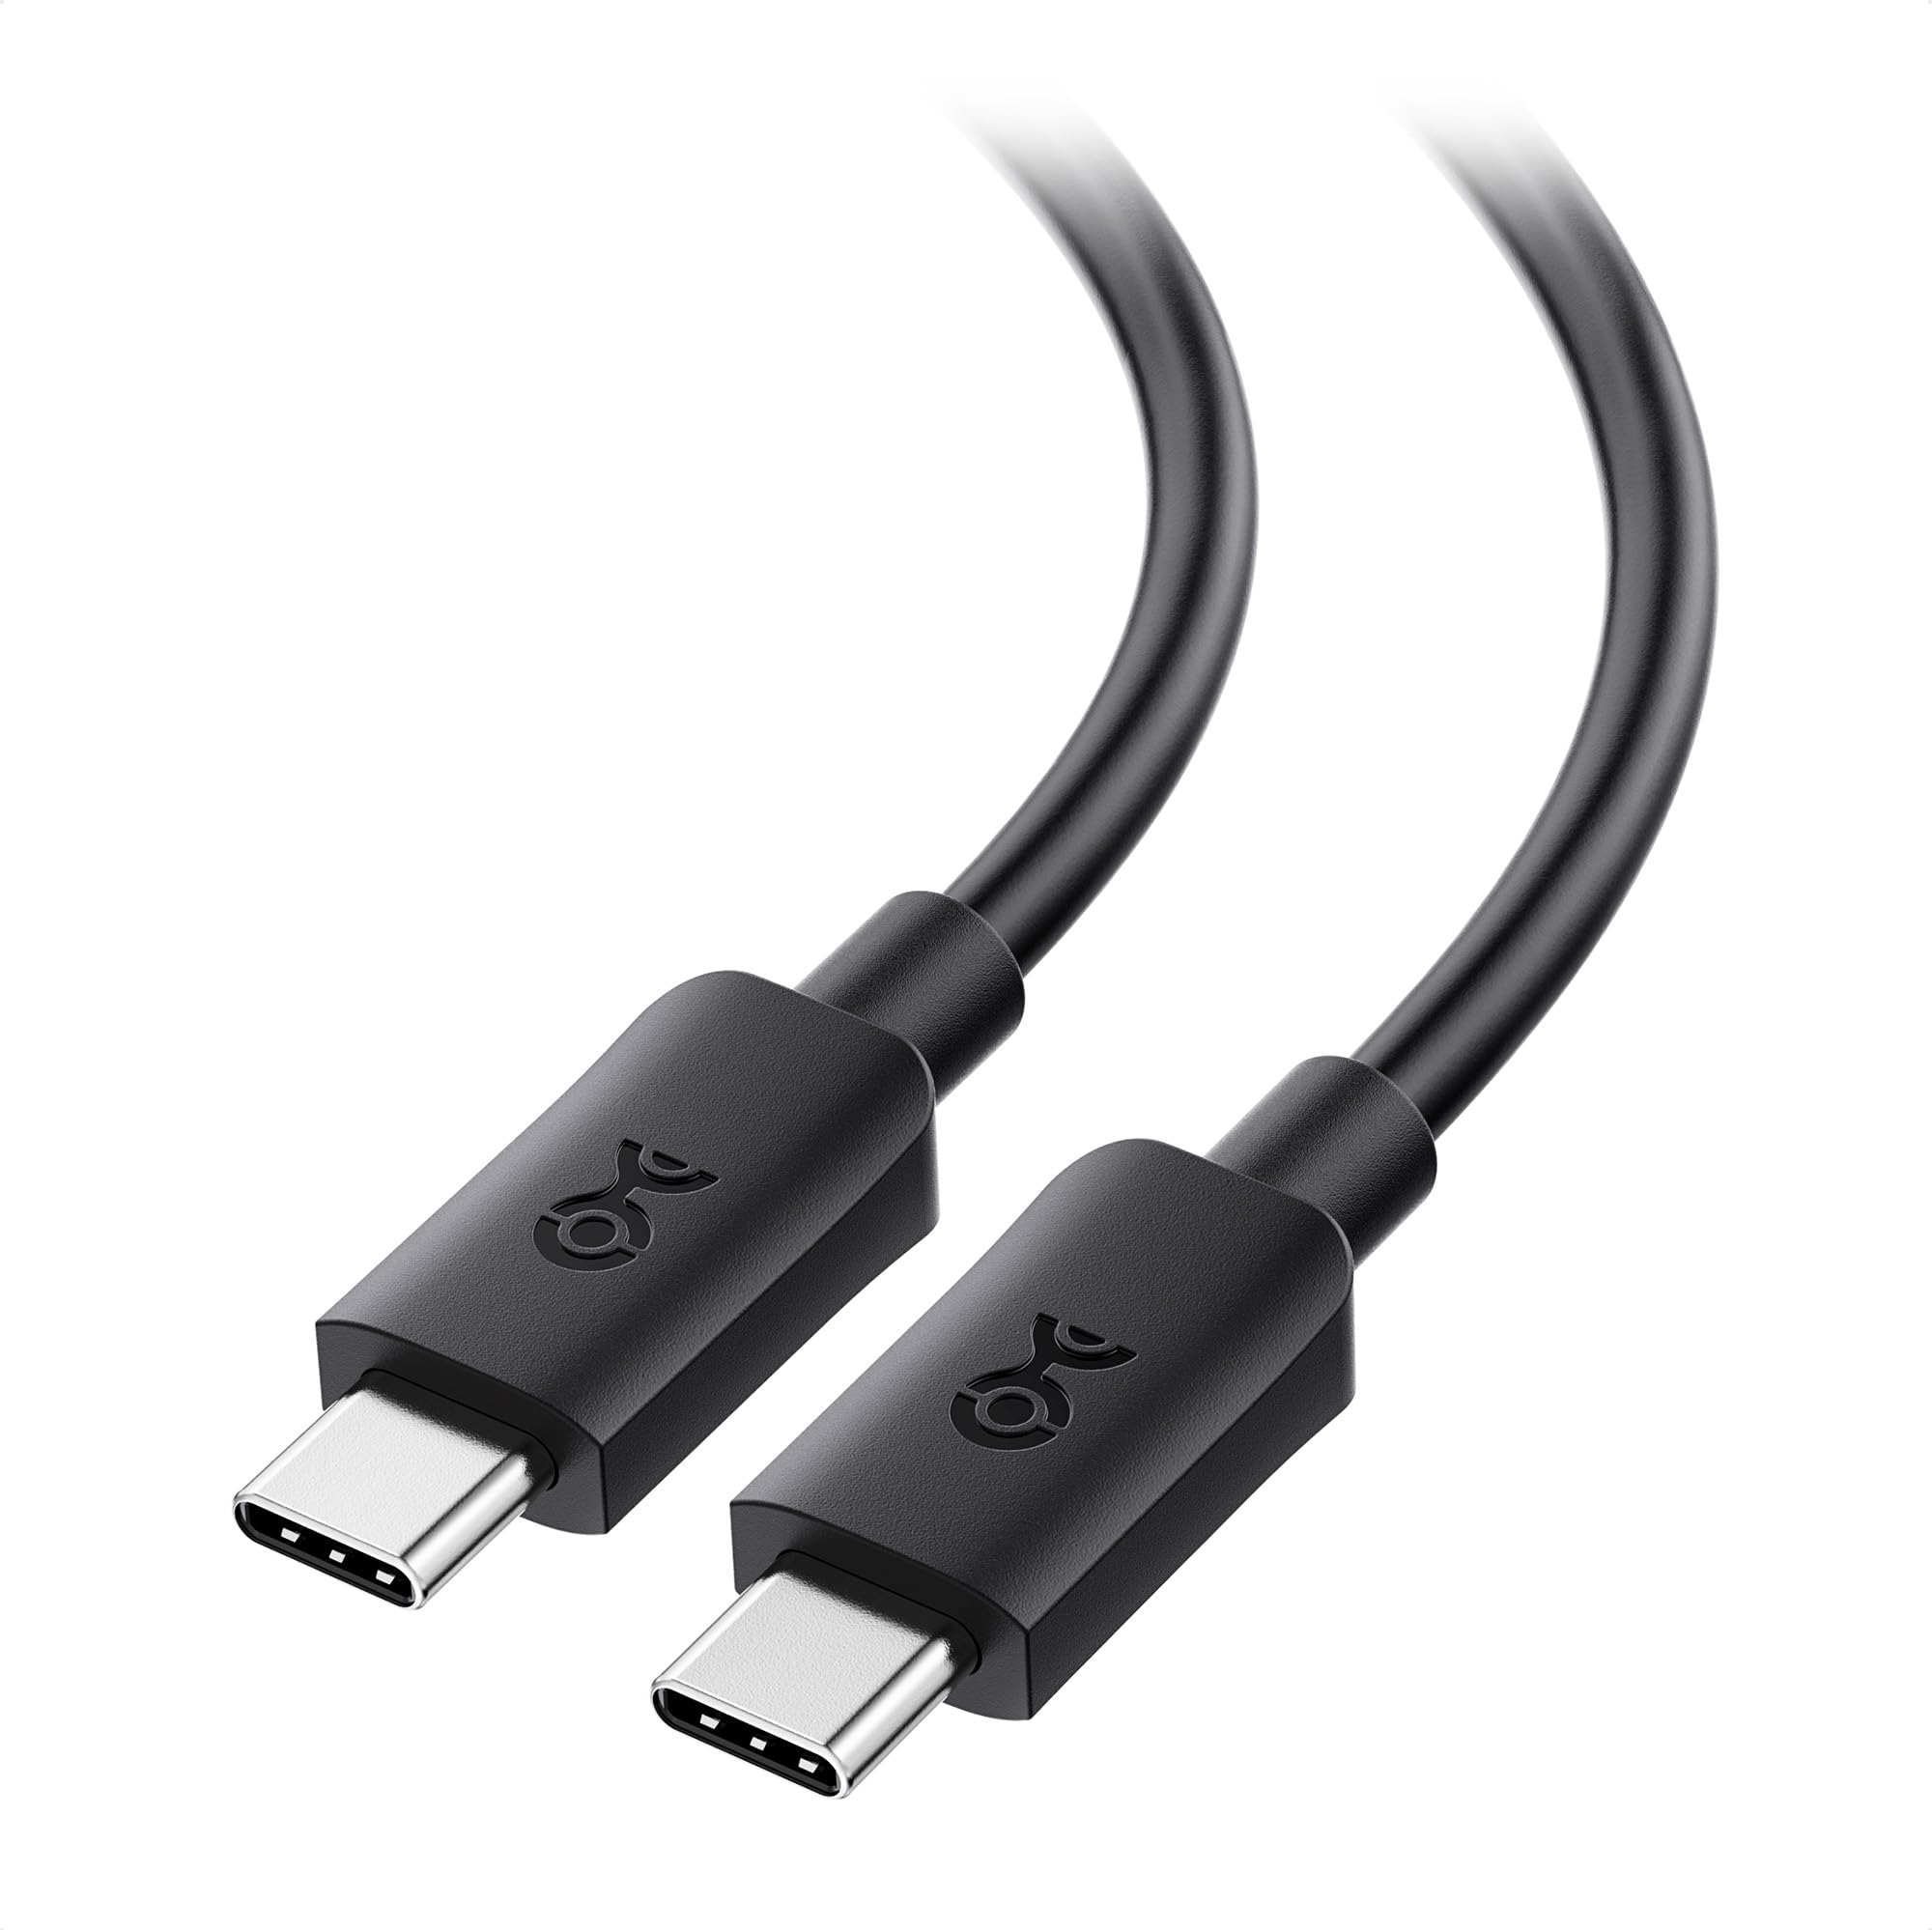
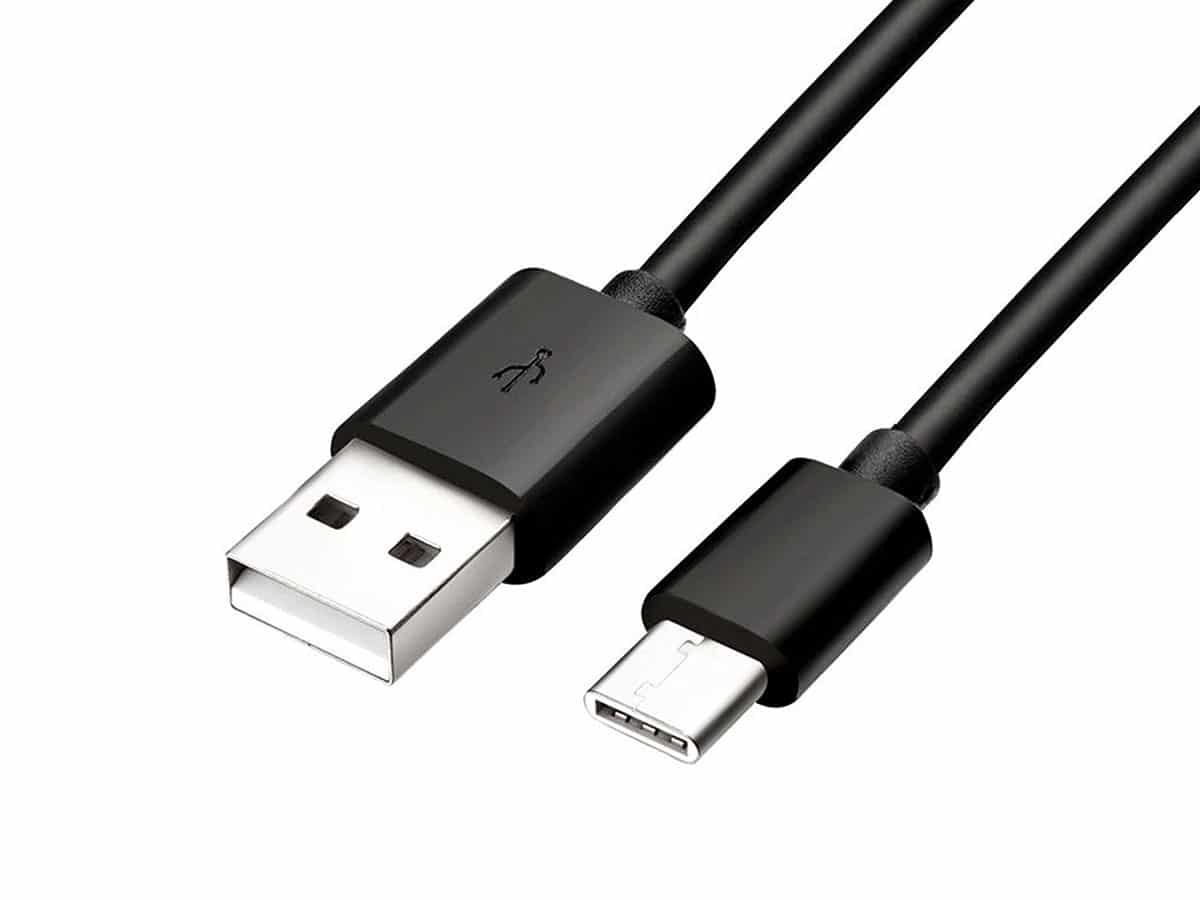
To update the firmware, connect the meter to your PC using a USB-C - USB-C or USB-C - USB-A cable. You will need to install the esptool application. For example, Arch Linux users can simply run:
# (from the testing repo)
$ sudo apk add esptool
$ sudo pacman -S esptool
$ sudo apt install esptool
Explore the device's menu and set up a matching bit rate for communication. Higher bit rates are more prone to errors. If you have a good quality cable, you can enable the highest rate, 921600 bps. Use the same bit rate for esptool. Next, execute the following command:
$ ls /dev/ttyUSB*
/dev/ttyUSB0

$ esptool.py -p /dev/ttyUSB0 -b 921600 write_flash 0 smartpower3-firmware-20230518.img
Note that the previous command assumes that the device is shown as /dev/ttyUSB0 and that the firmware is located in the current work directory. If you have multiple meters, in case you don't know how to distinguish between the devices, consider connecting only a single device simultaneously during the firmware upgrade process.
Once the firmware has been updated, there should be no issues having multiple devices connected. Also, please note that the order of devices might change after a reboot. We found that at least on Linux, connecting all the devices to the same USB hub should provide a stable device enumeration, but YMMV.
TTY permissions
The Smart Power 3 meter is a USB UART device and may require adding the user to a specific UART / serial group unless you are executing the application as root (which is not recommended as it is highly insecure).
Add the user to the relevant groups:
$ sudo usermod -a -G uucp username
$ sudo usermod -a -G dialout username
$ sudo usermod -a -G lock username
$ sudo usermod -a -G tty username
$ sudo usermod -a -G uucp username
$ sudo usermod -a -G dialout username
$ sudo usermod -a -G lock username
$ sudo usermod -a -G tty username
$ sudo usermod -a -G uucp username
$ sudo usermod -a -G dialout username
$ sudo usermod -a -G lock username
$ sudo usermod -a -G tty username
HardKernel Smart Power
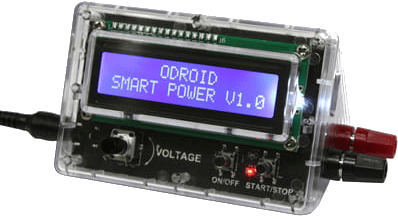
This product has been phased out and cannot be bought from the official store anymore.
HardKernel Smart Power is one of the supported meters. The device can be accessed with the USB HID RAW drivers.
Some distributions do not enable device access by default for ordinary users. We show how you can configure the device file permissions. Again the instructions assume a rather ordinary configuration without any complex distributed corporate security scheme (e.g. Kerberos / LDAP).
Udev rules
The original HardKernel SmartPower meter is a USB HID RAW device and may require a configuration rule unless you are executing the application as root (which is not recommended as it is highly insecure).
To add the udev rule, create a new file /etc/udev/rules.d/14-smartpower.rules with the following contents:
SUBSYSTEM=="hidraw", ATTRS{idVendor}=="04d8", ATTRS{idProduct}=="003f", MODE="0666"

SUBSYSTEM=="usb", ATTRS{idVendor}=="04d8", ATTRS{idProduct}=="003f", MODE="0666"
Next, run the following command to reload the configuration (otherwise you'd need to reboot to activate the new settings):
$ sudo udevadm control -R
$ sudo udevadm trigger
RAPL permissions
Reading Intel RAPL counters from /sys/devices/virtual/powercap/intel-rapl as a non-root user is a common problem because the files in sysfs are typically owned by root with restrictive permissions. Running the entire application as root is not recommended.
A simple way is to change the ownership of the files:
$ sudo chown -R $USER /sys/devices/virtual/powercap/intel-rapl
This is not the most suitable way in multi-user systems and needs to be executed after each reboot.
A better approach is to create a new group for users with access to the RAPL counters.
User configuration
The following commands will create a new group for RAPL access and add the user to the group. The group membership becomes active after relogin.
sudo groupadd energy
sudo usermod -aG energy $USER
Udev rules
Now, create a new udev rule for RAPL access (in /etc/udev/rules.d/60-intel-rapl.rules):
SUBSYSTEM=="powercap", KERNEL=="intel-rapl*", \
    RUN+="/usr/bin/chgrp energy /sys/%p/energy_uj'", \
    RUN+="/usr/bin/chmod g+r /sys/%p/energy_uj"
Next, reload the new udev rules:
$ sudo udevadm control -R
$ sudo udevadm trigger
Libraries for low-level meter access
The application requires libraries for communicating with certain pieces of hardware. Although the application contains drivers that are specific to the measurement hardware, these drivers still depend on lower level system libraries. Without these libraries the meters cannot be detected or used.
The following commands will install the hidapi package for accessing USB HID devices:
$ sudo apk add hidapi-dev liburing-dev
$ sudo pacman -S hidapi liburing
$ sudo apt install libhidapi-dev liburing-dev
Set up MQTT (optional)
This is not a mandatory step if you do not wish to use MQTT. MQTT is not the most suitable protocol for controlling the measurements because there is a noticeable latency when delivering messages. We recommend using HTTP instead.
If you want to use the MQTT protocol for communication, you will need to set up a MQTT server (you will probably also want to use the MQTT client applications for testing).
First, install the mosquitto package which contains all the client and server components:
$ sudo apk add mosquitto mosquitto-clients
$ sudo rc-update add mosquitto
$ sudo pacman -S mosquitto
$ sudo systemctl enable mosquitto
$ sudo apt install mosquitto mosquitto-clients
$ sudo systemctl enable mosquitto
If you use some other distribution, the package naming may differ. Debian based distributions also automatically enable new services. If the distribution offers both HTTP and HTTPS versions of MQTT, keep in mind that HTTPS is not currently supported by our application.
You can test that the MQTT server is properly set up by launching the pub (publish) and sub (subscribe) applications:
$ mosquitto_sub -h localhost -t /test
$ mosquitto_pub -h localhost -t /test -m "Testing 123"
The mosquitto_sub client should receive the message.
Set up HTTP (optional)
The software comes with an integrated lightweight HTTP server. This server is really lightweight - it does not contain any HTTPS support. If you need HTTPS, consider tunneling the traffic via a reverse proxy (lighttpd, nginx).
For the client side (SUT, system under test), you will need an HTTP client. Our example scripts either use Python/JS/Java libraries or for shell scripts the curl and wget utilities. Both are available on most Linux distributions. The following commands will install curl and wget:
$ sudo apk add curl wget
$ sudo pacman -S curl wget
$ sudo apt install curl wget
If you just want to test the HTTP API, the integrated server also has a view in which API queries can be formed.
R and ggplot2 (optional)
By default, PowerGoblin doesn't generate diagrams with R anymore, but if you want to use R, the following additional packages are also required for R/ggplot2 graph generation:
$ sudo apk add r
$ sudo pacman -S r
$ sudo apt install r-base r-cran-ggplot2 r-cran-stringr
Make sure ggplot2 and anytime packages are installed by invoking the following commands:
$ R
R version 4.4.1 (2024-06-14) -- "Race for Your Life"
Copyright (C) 2024 The R Foundation for Statistical Computing
Platform: x86_64-pc-linux-gnu

> install.packages("ggplot2")
> install.packages("anytime")
It is also possible to run the application without the need to install R and ggplot2, but graphs will not be generated for the measurements. The functionality will silently fail whenever there is a configuration issue with R.
If you forget to install the R packages, PowerGoblin will attempt to install them during the rendering process. Since there is a timeout set for the process, installation most likely will fail since the compilation usually takes much longer. The best way to avoid this issue is to prepare the R installation before doing any measurements.
Next step: Launching the software
Finally, all the preparations and configuration is done at this point. We can now continue to the next section where we launch the software and monitor its operation via the web user interface.
On the other hand, if you wish to learn more about the configuration options for PowerGoblin, see this subsection instead.